Showing posts with label wire jewelry. Show all posts

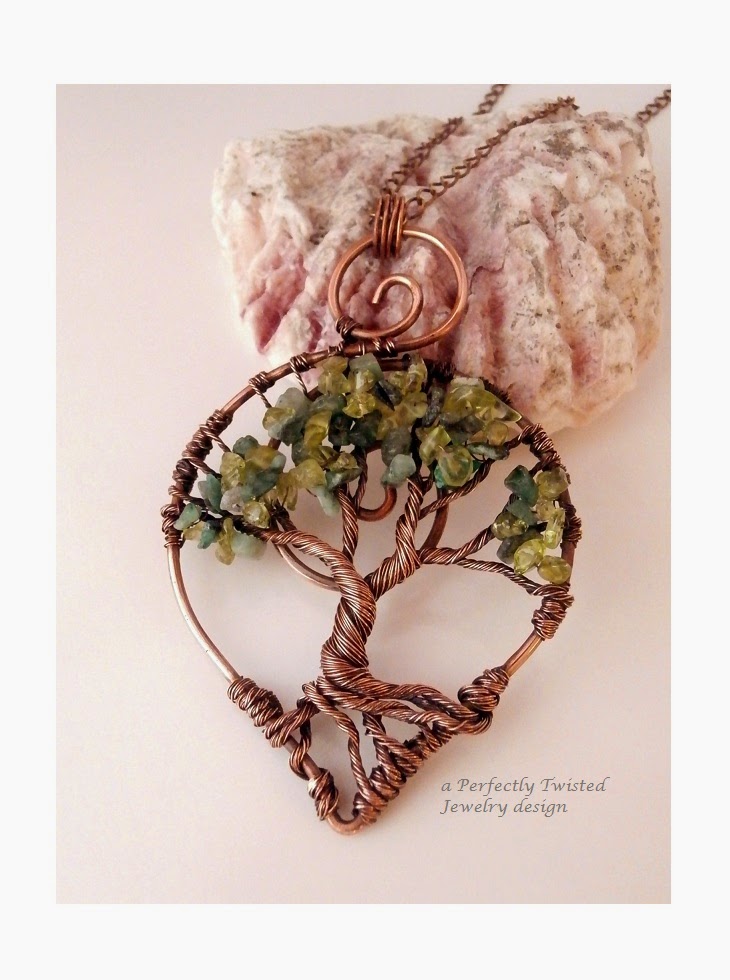
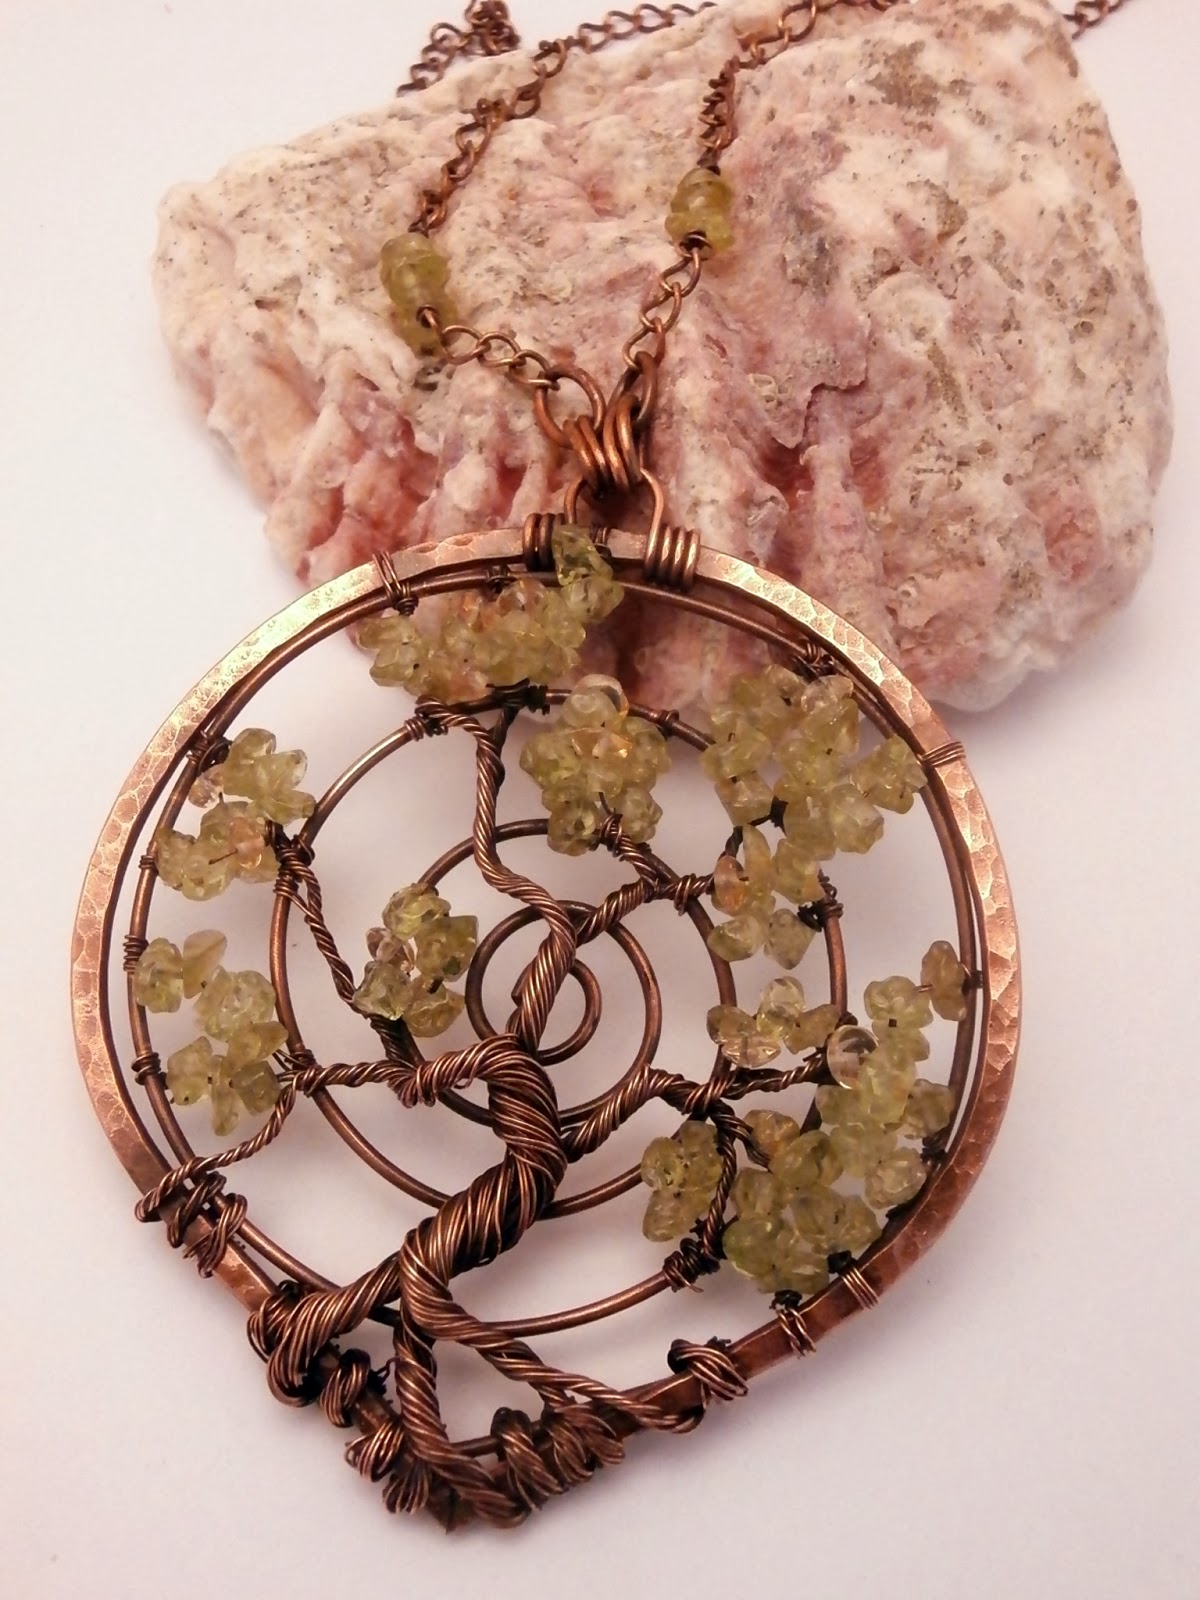
New in my store! The Money Tree Pendant, Wire Wrapped Braided Bonsai, Peridot & Emerald beads

Just some inspiration for you, I hope!  :)) These are my latest tree creations... I expanded my Tree of Life Bonsai into a Braided Money Tree Bonsai... I consider it a tree of life also!

Enjoy the eye candy and visit my store to purchase any of these beautiful wire tree creations.  I share this basic tree design in a tutorial also!  Enjoy and thank you always, for your wonderful support and encouragement!

https://www.etsy.com/shop/PerfectlyTwisted
Click each image to enlarge


The Latest Grove of Wire Wrapped Bonsai Tree of Life Pendants! https://www.etsy.com/shop/PerfectlyTwisted

I've been hard at work creating new bonsai designs.  I have to admit that I love these and hope you find them inspiring!  They can be found for sale in my Etsy Jewelry Store...  https://www.etsy.com/shop/PerfectlyTwisted

Enjoy the eye candy!
Click each image to enlarge.
I've also just added two of them in sterling silver, so I've edited this post to add those...


These are moonstone on the left and Aqua Marine with Peridot on the right.
Below are several trees made of a beautiful deep orange Carnelian stone chips, Rose quartz, green Peridot, metal round ball beads and a soft purple mix in Fluorite.


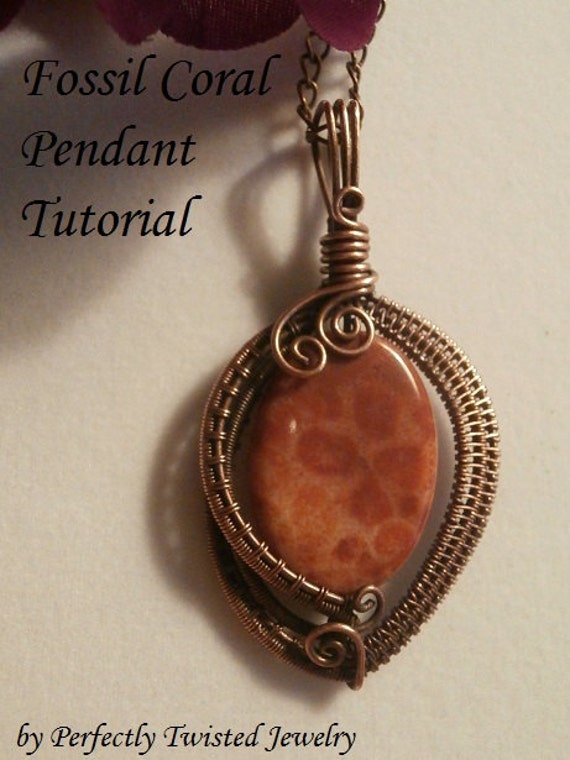
A New Tutorial!! Wire Wrapped Pendant, Beginner to Intermediate Wire Weaving Jewelry Project


I've worked very hard all weekend to bring you the latest of my tutorials!  I think you'll love giving this project a try... it's a great pendant, designed with ease and versatility in mind!  I designed this in such a way that you can harness any size or shape of drilled focal bead.  The design ensures also, that the backside is 'clean', meaning you can, with some thought to design, create a reversible pendant and utilize both sides of a gorgeous stone.  The bail is secure, closed and large enough that you can enjoy your pendant on any size chain, decorative rope or ribbon.  Get creative and make a few for yourself, friends and loved ones! They'll adore your skill and love their beautiful handmade gift.


The tutorial bundle contains 3 files, the primary pendant project, a variations file, showing two additional designs using the same harness and a third file which will walk you through adding a lovely patina to the wire.

Click here to go directly to the listing

Enjoy the eye candy! And visit my store for more wonderful jewelry project tutorials!
https://www.etsy.com/shop/PerfectlyTwisted


click each image to enlarge and get a closer look!
 

Primary tutorial file:
18 pages
123 images
23 steps

Variations file:
10 pages
44 images
10 steps
Includes a 3rd pendant with 20 images to temp your imagination!

Patina Madness file:
3 pages
11 images
4 steps


How to Create Balls on Copper Wire Ends Using a Butane Micro Torch aka How to Make Copper Headpins Part 1

I love the look of balled ends on wire and I've seen it in many places along the web, in silver wire.  I work mostly in copper, which is a harder metal, but I wanted to create this same effect... so a couple of weeks ago, I went to the local craft store and purchased a butane micro torch.  Copper melts at 1981 degree Fahrenheit, so if you're going to give this a try, make sure the torch you purchase will reach or exceed this temperature.

The exact torch I have can be purchased at Michael's for about $40 ... if you already have this one, it will work for sure.
http://www.michaels.com/Butane-Torch/bd1328,default,pd.html

You can purchase lighter butane almost anywhere... I get mine at the Walgreens.  You can also find it at Home Depot hardware stores.

My first try was a total misery and I wasn't able to get any gauge wire to ball up... including even a 20 gauge wire.  After some time and reading, I finally figured out the 'trick' to getting those lovely balls... and I've managed to ball up wire as thick as 12 gauge using this butane micro torch.

Here's how...

Before you begin
1.  Make sure you are working in a well ventilated area.  
2.  Use either a fire stone and/or a pan of water and work on a surface area that is not flammable.
3.  Use pliers that are safe to handle and long enough to keep your fingers away from the flame.
4.  Make sure your clothing and hair are pulled back and secure.
5.  Make sure your butane micro torch is completely full for best results.
6.  Use safety glasses if possible.

Grasp your wire length with the pliers, either in the center of the wire, or at the end opposite the one you intend to set the flame on.

The TRICK to this, is to get the tip of the wire and the tip of the flame, pointed head on, at each other.  If the flame and the wire are perpendicular when you start, the wire will get red hot, but the end will never melt and ball up.   

You will see the tip of the wire go red hot and the tip of the flame will become green... this is when the wire will begin to melt.  There may be small sparks at this point, so don't be alarmed and don't put your face too close to the heat.  

Once the wire end becomes molten, start to rotate the wire so that the balled end is pointed 'down', while you continue to hold the flame sideways and on the balled end.  At this point, the balled end and the flame ARE perpendicular.  This will create a nice rounded look to the molten ball.

Remove the flame from the wire while it's red hot and dip the whole wire, not just the end, into the pan of water to cool it down.

Keep in mind that your plier heads will be super hot also... so cool them down in the water too!

==============================

How to Make a Wire Danish Love Knot - Free Tutorial

I owe many thanks to Blue Forest Jewellery for this wonderful and informative tutorial!  I've been searching the internet for clear instructions on how to make the infamous "Love Knot" also known as the "Danish Knot" and today, I found it!  Please, take the time to visit this delightful and talented artist.

This is the link to Blue Forest Jewellery's blog and the tutorial:
 http://blueforestjewellery.blogspot.co.uk/2012/01/handmade-monday-how-to-make-danish-love.html ...
This is a link to Blue Forest Jewellry's Etsy store:
http://www.etsy.com/shop/BlueForestJewellery

I spent the morning creating these and wanted to share the measurements with you because I came to find that getting those 'right' for a nice tight, clean looking bead, took the most time.  After that, it was just a  matter of great patience :))

Click each image to enlarge
For these 10mm  knots, I used 
22 gauge, dead soft, bronze jewelry wire
5 mm mandrel
each coil contains 5 loops, between each cut
3 coils per bead


For these "20" mm knots, I used
20 gauge, dead soft, bronze jewelry wire
10 mm mandrel
each coil contains 8 loops, between each cut
3 coils per bead

You'd think the math would work out to be 10 loops per coil, but when I tried that, the coils were simply too tight to get linked together.  The bead you see on the left contains 8 loops each, between the cuts, while the on the right contains 7 loops between each cut end.  You'll notice that the one on the right, while it doesn't look bad, is definitely not as tight or neat as the one on the left.  One extra loop per coil makes a difference, in my opinion.  Anyway, I hope you enjoy and again, I encourage you to give the Blue Forest Jewellery tutorial a try.


Learning to Weave Jewelry Wire - labradorite pendant

This beautiful labradorite stone has an amazing amount of electric blue flash when in natural light and I think is one of the most beautiful stones to work with.  Labradorite is called the stone of Magic and awakens mystical abilities and psychic powers.  It wards off negative energies and can be used as a form of 'protection' from ill will.   It brings the wearer a renewed energy for excitement and adventure.  I hope you enjoy the wire works I put to it and I hope you look for it in my etsy store... coming soon!  In the meantime, if you are interested in this piece specifically, please email me at izzyzgumbo@gmail.com

  Click the images to enlarge


Copper and Sterling Silver Wire Wrapped Jewelry In the Making...


Well good morning again everyone! There's fresh coffee, tea, sugars and honey on the table. ;)

I've been head down this week working on a few things. One of them being learning about copper. I'll have a good article posted with links to a few sites and some information I found soon. I'm 'composing' while I create and learn. For now, I wanted to share some images of a couple new copper projects in the works. I have yet to finish earrings and such for these sets but by this weekend, they should be posted.

I find that copper is amazing with turquoise and finally, I have found a way to use the wonderful beads I purchased last year at Magpie Gemstones. The little focal 'Goddess face' there is porcelain and I also purchased this from Magpie. I'm afraid I don't remember the designers name, but I purchased three of these focals from Szarka last year and just love them. I'm glad I found copper to use with them. Check out her beads - amazing quality and the price was outstanding. I have to admit that I've used turquoise before, but didn't 'love it' until I got these strands. I also have some of her focal bone pieces which are outstanding and have waited to find the right application for them. I think copper is going to be perfect and those images are also, coming soon.

Thanks to Magpie! http://www.magpiegemstones.com/home.html
These images are sold but I hope they give you some great ideas. The bone beads, turquoise and porcelain focals are from Magpie. The first image below to the left... those beads are called Pietersite and they're an amazing blend of browns, tans and red colors. I think they all worked very well in copper. :) Enjoy!


These are some additional things in the works... just so you know I'm still here. :)

(the aqua aura pendant is listed. Click image to go there)


Okay everyone - back soon - many hugs!

Thanks for visiting Perfectly Twisted Jewelry! Please contact me with comments or questions!
IzzyzGumbo@gmail.com
twitter.com/izzygumbo